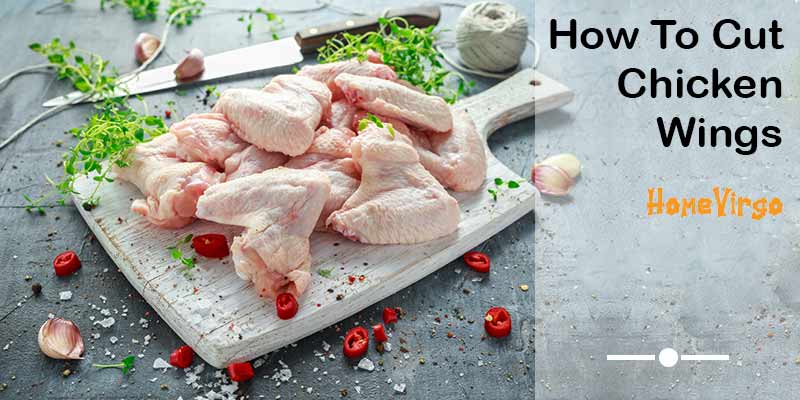
How To Cut Chicken Wings

Chicken Wings
A few items can beat the taste of perfectly cooked chicken wings. If you can cut the wings properly and fry them by following the proper ways, you will have the crispiest chicken wings. But do you know how to cut chicken wings?
Well, don’t fret if you don’t know. You have landed a page that contains all relevant information that relates to the topic. We have compiled the ways, tips, and tricks you can follow to cut the wings.
So, let’s just dive in without saying anything else.
How to Cut Chicken Wings- 2 Easy Methods
So, we did a deep dive and got back with two easy methods of cutting chicken wings for you. Let’s check them out!
Method 1: Standard Cut
This method is the traditional one. You will need to follow these steps below.
Step 1: Mark Both Joints
Look closely, you will find two joints in a whole chicken wing that connect three sections. The joints are pretty easy to visualize, so you can mark them easily. The wing will bend in two different places and every bend will correspond to one joint.

You can also see a rounded end that previously connects to the chicken’s body called the drumette. The mid-part where both joints meet is called wingette, it’s also known as ‘flat’. Moreover, there is a pointed end called ‘tip’.
Can you visually identify both joints? If you can, then, spread your fingers on the wing to feel for the loose or hollow areas. Why determine the areas? Well, those areas are the connecting points and you are going to cut the wing at those points.
Step 2: Force Both Joint Apart
Grab the wing and hold both ends of it. Bend the joint where the wingette and the drumette meet and then, force carefully the joint apart.
Hold the drumette and the wingette in such a way that there is a ‘V’ shape created by the two portions. Right now, there’s no need to be concerned about the wingtip.
Then, you will want to hear a slight crack by knocking down on both portions. Look at the end of the drumette, you will see a bone connected there. You should continue pulling down until you see the bone pushes through the connecting skin.
Step 3: Cut Across the Joint
Grab your cutting board and a sharp knife now and put the chicken wing onto the board. Now, place the knife directly where you see the exposed joint. You will want to separate both pieces carefully by pressing down the joint.
Or, you can get the job done in another way- use a kitchen scissor that is clean and sharp to detach the exposed joint.
Step 4: Force Apart the Joint Between the Tip and Wingette
Use your hands to hold the connection between the tip and the wingette. Stop bending back the wing tip once you are succeeded to force the joint apart. You will find this job easier compared to the previous part because this joint is not that hard.
Step 5: Use the Separated Pieces
So, you are done cutting chicken wings and now you can use the separate pieces for chicken wing recipes. You will find almost little to no meat in the wingtips. For this reason, wingtips are not suitable for normal recipes. So, you should discard the tips and use only the drumette and wingette.
In case, you don’t want to discard the tips completely, you can set them aside and then use them for making chicken stock later.
Method 2: French Cuts
If you don’t feel like you want to follow the previous method, here’s another option for you. Let’s check out the steps of french cuts.
Step 1: Separate the Three Wings
So, in this process, you need to separate each wing in the first place. The process of separating the whole wing into three pieces is similar to the standard method we shared before.

Hence, you need to get rid of the wing tip as well. Use both the wingettes and drumettes for ‘Frenching’. This process discards the skin and meat from one part of the bone. You will find the meat sitting on only an end of the piece of wing and the part where the bone is exposed works as a handle so you can use it easily to grip.
Step 2: Cut Through the Drumettes Skin
Here’s the part you need to deal with a sharp knife. Well, grab a sharp knife firstly and cut through the skin. Make sure you cut at the drumette’s thin bottom carefully. You need to work on it throughout the bottom and stop when you see the skin being totally disconnected there.
Mark the exposed meat and gently pinch it using your fingers. Deal with your one hand to pinch the bone when you cut the skin using the other hand. You should see very gently for separating the skin. Simply let the blade do the job rather than force your knife to do it. You will want to discard the skin as well as make sure that you don’t see into the bone itself.
Step 3: Push Down the Meat to One End
Here’s your job is to push down the meat from one end of the wing’s bone. Make it happen using the side of your sharp knife blade. Start with the bone’s thin end and end up with the thick end.
Yes, it also can be done with your hands instead of using a knife, but you will find it too slippery, so better to use a knife. Make sure you press down the blade of your knife so carefully that it touches the bone’s side slightly.
Step 4: Pull the Bone Inside-Out
You can call this step ‘securing the meat’ as well. Because now, you need to pull the bones inside-out using your hands after the meat forming a knob at the bone’s end part.
However, it’s not necessary to do this, but if you secure the meat, it will not slip back down. So, the meat will be in its initial position when it cooks.
Step 5: Do the Same With The Wingette
Now, gently take the exposed bone in your hand and find the end of the wingette. Once found, make sure you push the meat onto the other end. If needed, you can double up the meat inside-out and place it over exactly that end, do it to secure the meat.

As we said before, the wingette is nothing but the middle part of the wing, so, you don’t even have to discard the bone’s skin just like you did while dealing with the drumette.
Mark the wingette’s narrow end and force the meat to expose more of the wing’s bone so that you can see a fat knob in the thicker end.
So, that’s all. You can do amazing french cuts by following the steps above.
Why to Cut Chicken Wings
It’s always better to cut and break the chicken wings into small pieces. Otherwise, if you deal with a whole chicken wing and sauce it up, you will find it a bit messy to handle.
Better you break down the chicken wings into small pieces, it’s pretty simple to make it happen and you will need only a few minutes for handling each wing actually.
How to Know If the Wings Are Cooked Properly
Regardless of which process you follow for cooking the wings, the most important thing you should be concerned about is the internal temperature of the wings. You can use a meat thermometer to get the job done.
Pick the largest piece of drumette and check its temperature using a meat thermometer. Make sure you check the temperature without getting in touch with the bones and check timely whether the batch of wings is cooked.
You should check up on these things below, these will help you know that the wings are cooked:
- Keep the internal temperature 165℉
- Inside of the wings should seem tender and juicy
- Outside should be formed with crispy skin
- For ensuring the doneness, get help from a meat thermometer
How Can You Cook Chicken Wings?
There are most 3 common ways to cook a chicken wing- air-frying, deep-frying, and in the oven. You can bake the chicken wings, it’s a healthy option though it requires some tricky steps for getting a literally crispy skin.
If you want the crispiest skin ever, you should deep-fry the wings, however, you need to make it happen using a huge amount of unhealthy oil.
And, if you want to get the super crispy skin of the wings using a little amount of oil, then, air-frying should be your choice.
Which Hot Sauce You Should Use
Truly saying, which sauce to use is dependent on your personal preference. I, personally, prefer sweet, spicy, and tangy sauces. So, go for the one you like. You can even make your own sauce if you love to create your flavor by playing around with any store-bought sauce as well as adding your own spices to it.
You can go for a combination of sweet and tangy taste as well- make honey mustard sauce. You will find it enjoyable enough, not too sweet or too spicy. Also, people love ‘buffalo hot sauce’ that is easy to make and delicious in taste.
How to Store And Reheat Chicken Wings
When you are done cutting the chicken wings but it’s not the time you want to cook them, what to do? Well, you can store the wings according to the recommended date there is printed on the packaging.
On the other hand, if you have cooked the wings and still want to store them, you can store them for 3-4 days in your refrigerator. And, if you need to reheat the cooked wings, put them back in your oven and set the temperature at 300℉. If you want to crisp the wings up by using the best air fryer, it’s also okay, you will end up having crispy chicken wings.
Frequently Asked Questions
Conclusion
And, yes, that was everything about how to cut chicken wings. Did you find it hard to get the job done? Your answer should be a big no since we tried to come up with the easiest possible and relevant information concerning the topic.
If you can follow the steps just as we instructed, you will undoubtedly have the right-shaped chicken wings. Once you cut them properly, cook them by following the proper cooking procedure, you will end up having crispy, mouth-watering chicken wings, no doubt.
Good luck!


